Adobe Illustrator Tutorials:
Monster tutorial using shape building and path finder tools to build up this image of the monster

Using shape building, gradient, type setting and layers tools to build up this shop logo

Adobe Photoshop Tutorials:
Adjusting Brightness Levels
Skills/techniques used in this tutorial:
Correcting the brightness and contrast of an image with the levels and hue and saturation command.
Before Photograph -
.jpg)
After Photograph -
.jpg)
Selecting Coloured Areas with the Magic Wand
Skills/techniques used in this tutorial:
Magic wand tool and preferences, blur filters and inner glow
Before -


After -

Making Layer Masks - Seamless Compositing
Skills/techniques used in this tutorial:
Using layer masks to conceal parts of an image, blending images, making selections/deselections, matting and defringing, using filters and drop shadows.
Before -
These are the two images to blend together in this tutorial


After -

Using the Marquee Tools
Skills/techniques used in this tutorial:
Rectangular and elliptical marquee tools, match colour command and feather
Before -
Images to be combined
.jpg)
.jpg)
.jpg)
After -
.jpg)
Before
.jpg)
After

Working with Selections - Mr Potato Head
Skills/techniques used in this tutorial:
Using the selection tools in various ways, repositioning a selection, choose areas of an image based on proximity or colour of pixels, add to and subtract from selections, rotate, scale and transform a selection.
Before -
These are the resources used to make the potato head.
.tif)
After

Blending Images

Orange in my Apple

Blending Images

Using Filters and Blending Modes

Pasting an Image into a Selection
Before -
.jpg)
.jpg)
After -

Merging images and Blending colours
Before -


After -

Using my own images using the same techniques...

Using my own images using the same techniques...

Digital Collage Scene

Brushes and Adjustment Layers - Face Retouching
Skills/techniques used in this tutorial:
Quick masking to change the colour of her hair, lips and eye shadow, using curves to change colours and applying make up digitally
Before & After -


Type Effects - Skin Textured Typography
Skills/techniques used in this tutorial:
Gradients and blending modes, textured background, creating light with the brush tool, layer mask, burn and dodge tool and cutting type.

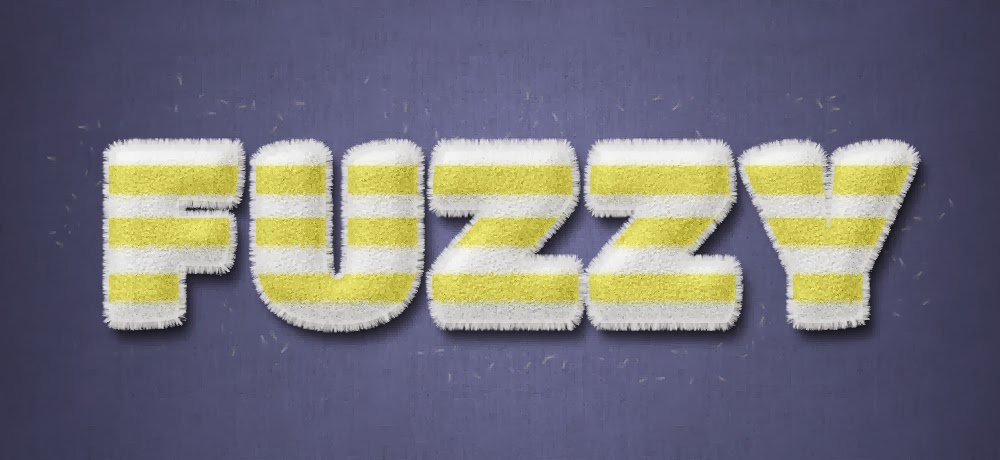
Type Effects - Fuzzy/Fluffy Textured Typography
Digital Collage Scene

Making a Word out of Real Materials
This is the word 'fly' made out of feathers Lauren and I found during our trip to Ashton Court. We have arranged them to spell out the word fly and layered them over an image we shot of a tree with birds flying towards it.

Nature Collage
This is our nature collage we made from the photos Lauren and I took in Ashton Court. (So Far)


Atmospheric Digicollage
This is an illustrative photoshop task where we had to colour in the different parts of the scanned in illustration and add in photographic, type, hand drawn and paint elements to create this final image.

Retro Collage Techniques
Skills.techniques used in this tutorial:
Using blending modes, erasing, selections and filters to create a finished retro/vintage image.

Evaluation of the use of these skills and techniques used...


